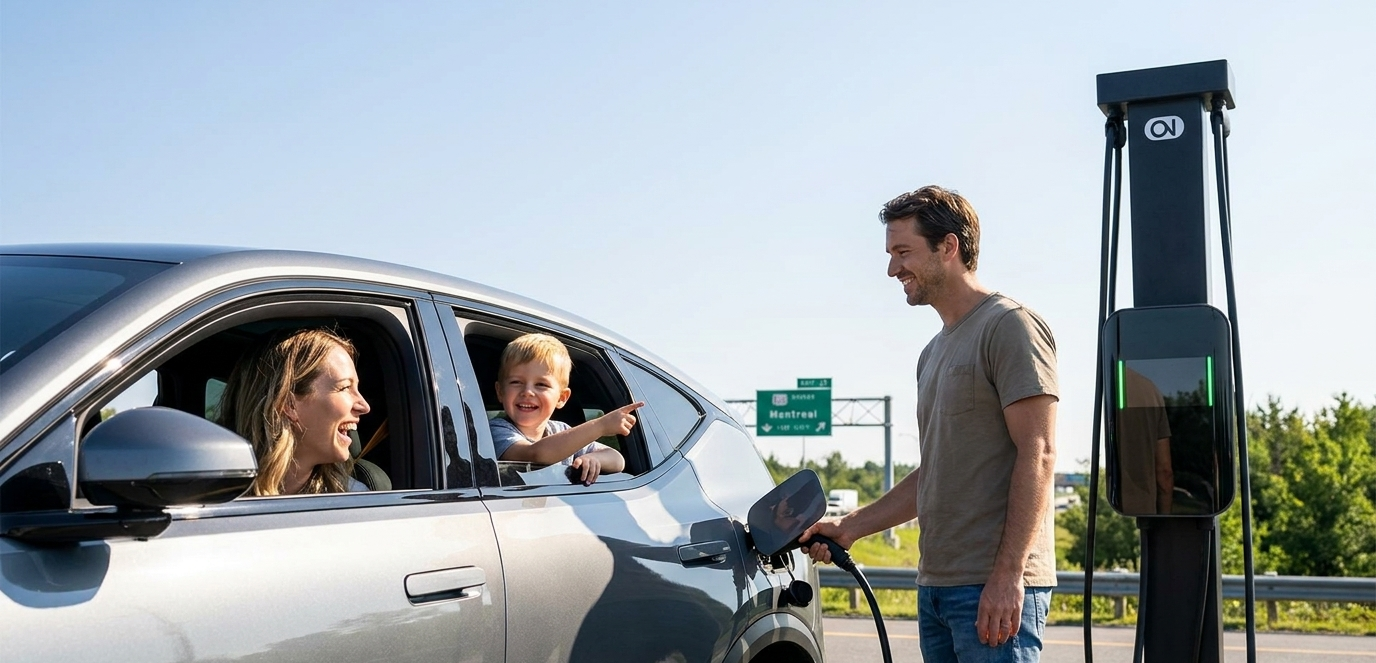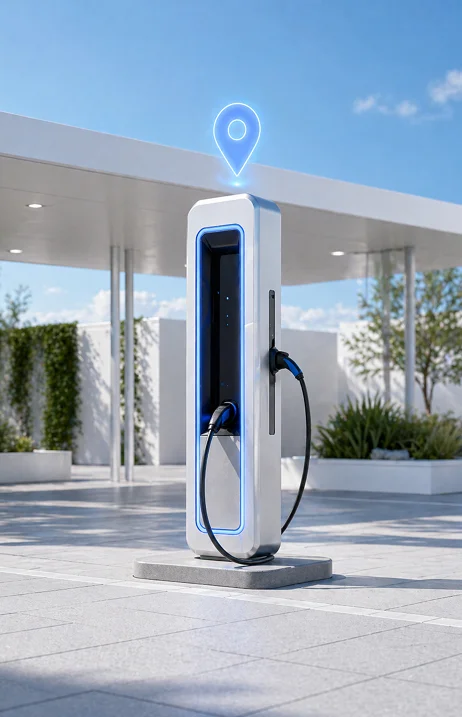
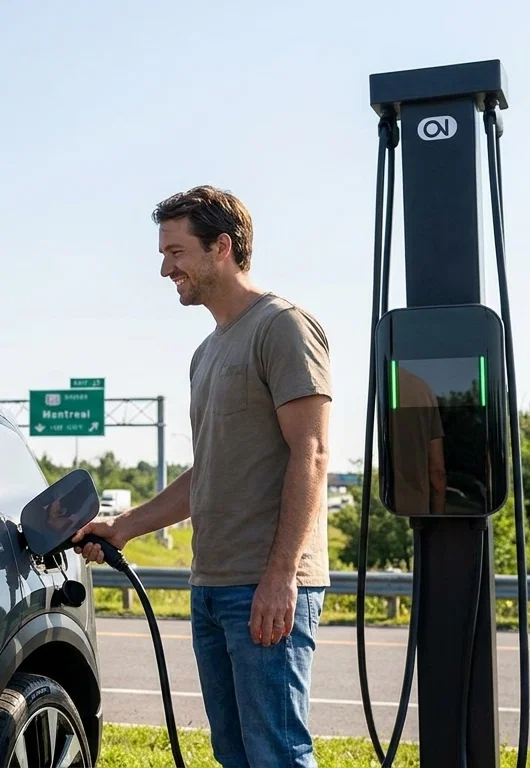
Every Neon EV charging station is remotely monitored around the clock. Our network operations team identifies and resolves issues proactively before you even arrive.
Neon EV charging stations span retail centres, workplaces, hotels, dealerships, and major highways across Canada. Whether errands or cross‑country, your next charger is always near.

See exact pricing before you start, no hidden fees. Pay with your preferred payment method, or a pre-loaded Neon account. Pricing is visible on the EV charging station and in the app.

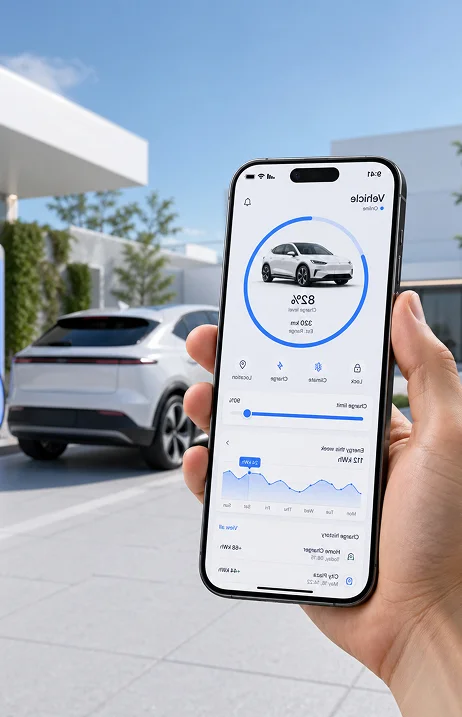
Track your energy consumption and kilometres added by session and cumulative over time. Every charge is a reminder of the real, measurable difference your EV is making for the planet.
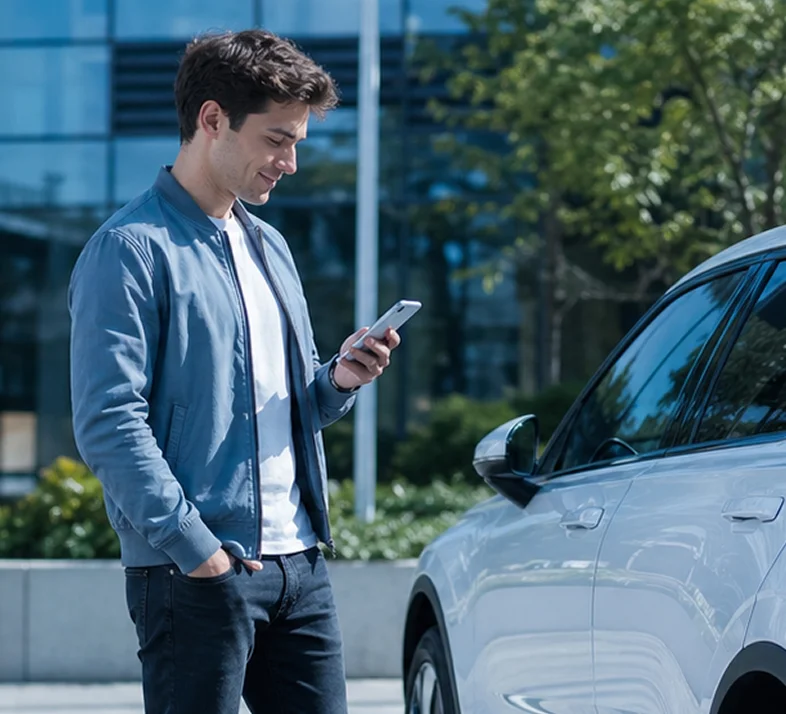
Use the Neon app to discover nearby EV Charging stations with real-time availability, pricing, and amenity info before you arrive.
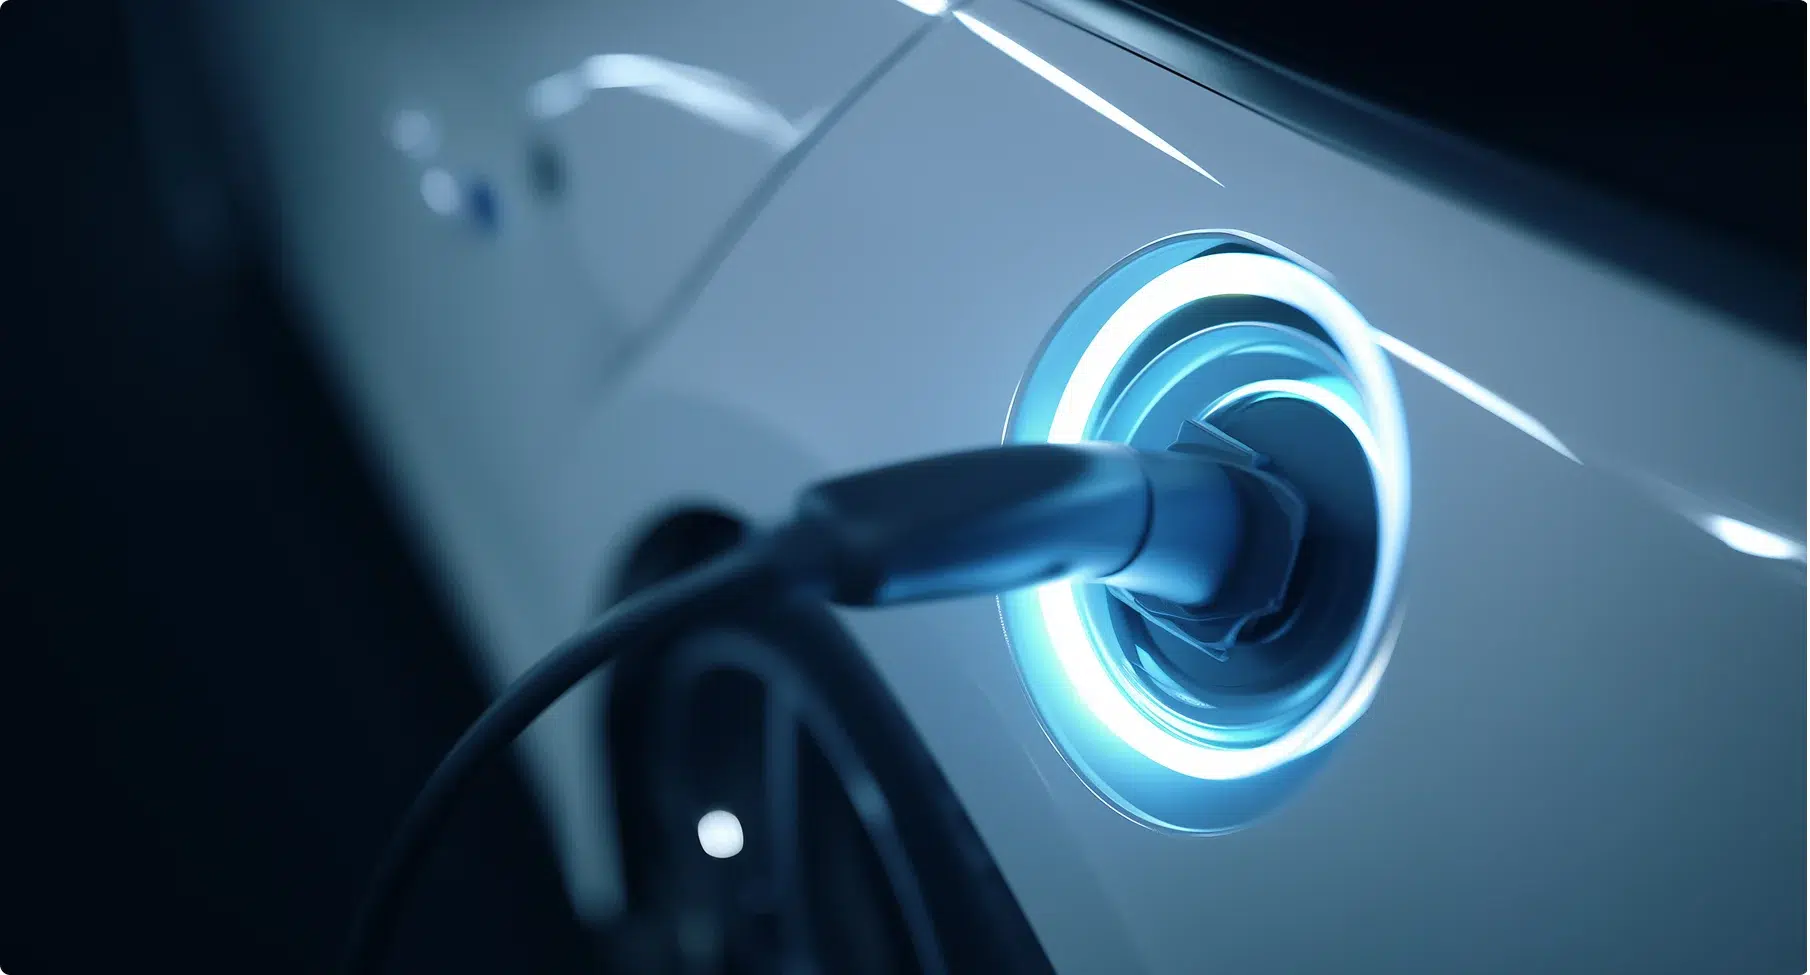
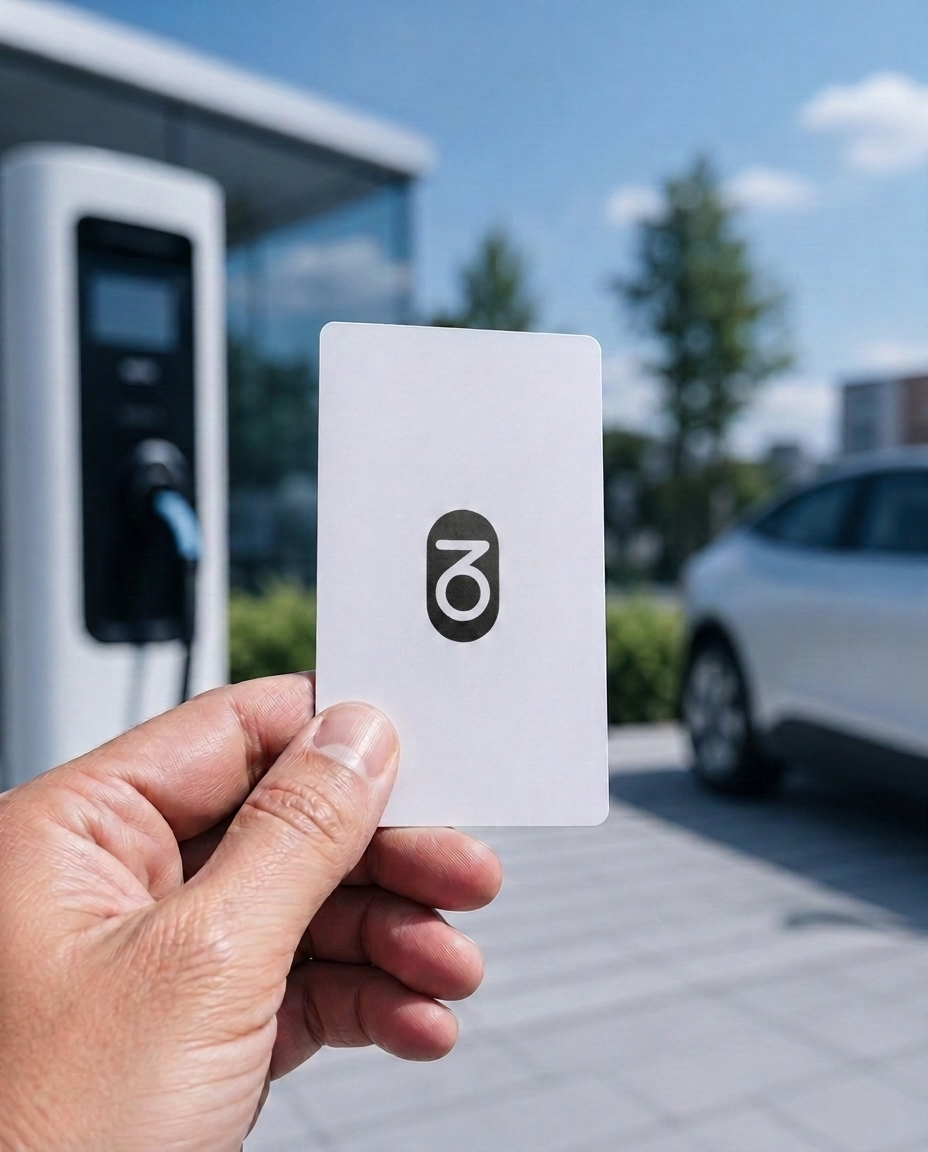
Compatible with all major EV makes and models. Start a session via the app, scan a QR code, tap your RFID card, or use the payment method available at the station.

Receive real-time status notifications. Track your session progress, kWh delivered, and estimated completion time right from your phone.

Get notified when your charge is complete. Review your session summary, cost, and energy delivered. Your e-receipt is sent automatically.




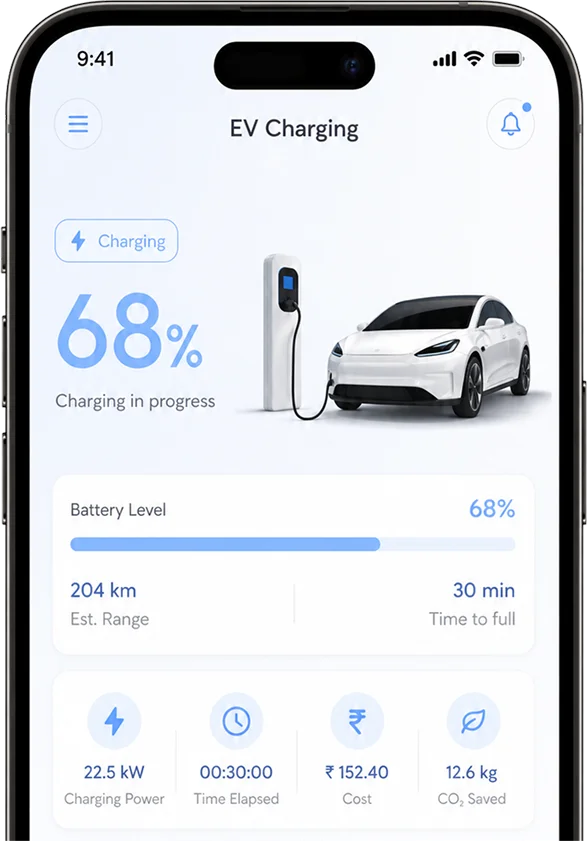
We recommend downloading the free Neon app for the best experience, which includes session notifications, charging history, and member benefits.
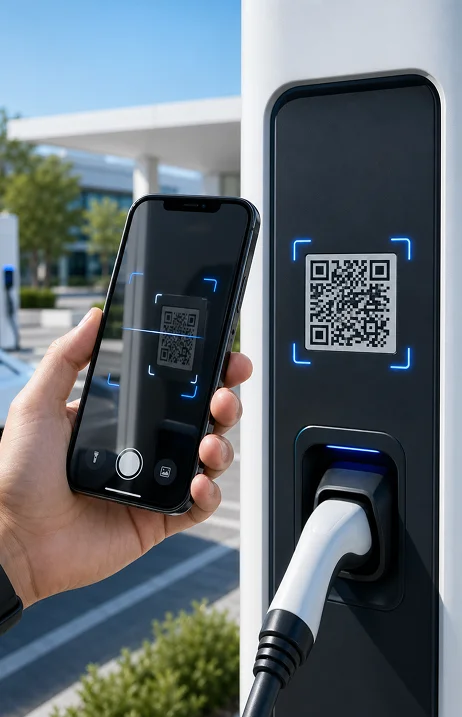
Alternatively, at select locations, you can scan the QR code with your smartphone camera and follow the on-screen prompts to start a session using a credit card.
Method 1: Using the Map
Open the Map view in the app.
Find and tap the location pin for your desired charging station.
Swipe through the list to view available chargers at that location.
Tap the specific charger you wish to use (matching the ID shown on the physical station).
Select "Start Charging."
Once the charger indicates it is ready, you may plug in your vehicle.
Method 2: Using a QR Code or Charger ID
In the app, navigate to the "Scan QR Code" feature.
Either:
Scan the QR code displayed on the charger screen.
Or, manually enter the charger's ID.
Both actions will direct you to that charger's control screen.
Select "Start Charging."
Once the charger indicates it is ready, you may plug in your vehicle.
Note: Please ensure your vehicle is properly parked and the charger connector is compatible before starting a session.
You can manage your payment options and account balance directly in the app. We recommend setting up a payment method and adding funds before your first charging session.
To Add a New Payment Method:
From the app's main screen, tap the menu icon (☰) in the top-left corner.
Select "Payment Methods" from the menu.
Tap the "+" (Add) button.
Enter your valid credit or debit card details, then tap "Add Card" to save it securely.
To Add Funds to Your Balance:
From the main menu, select "Balance" or "My Wallet".
Tap the "+ Top Up" or "Add Funds" button.
Choose your desired top-up package or amount and confirm the transaction.
The funds will be added to your account balance immediately.
Pro Tip: Enable Auto Top-Up
To avoid interruptions during charging, you can enable "Auto Top-Up." This feature automatically adds funds to your balance when it falls below a set minimum, ensuring your sessions never stop due to insufficient funds.
Yes, your electric vehicle is compatible with Neon stations. We support all major connector types, including J1772, CCS, NACS, and CHAdeMO. To ensure a seamless experience, the Neon mobile app shows exactly which connectors are available at each site, so you can confirm compatibility in advance or know whether to bring your own adapter.
The cost to charge on the Neon network depends on the location. That's because most chargers are owned and operated by independent site hosts such as shopping centers, hotels, or parking garages and they decide their own rates. To avoid surprises, simply open the Neon app before plugging in, the app will show the exact price per kWh or per minute for that specific station.
We recommend downloading the free Neon app for the best Getting an RFID card is simple. Just click the link above on this page to order one or open the Neon mobile app to request yours. Either way, we'll get it shipped to you.
No problem, we're here to help. If you find a charger that isn't working, the best way to report it is by opening a support ticket on our website.
Here's how:
Go to our website and click "Report a problem" or "Contact Us." Provide as much details as possible.
Once your ticket is submitted, a Neon agent will review the report and reach out to the station owner (who operates the charger) to get it repaired.
Level 2 charging uses alternating current (AC) and is best for topping off your battery over several hours ideal for home, work, or overnight. DC Fast Charging delivers direct current (DC) at much higher power, adding up to 80% charge in 20–40 minutes, making it perfect for road trips and quick stops.